Concrete Mixer Blade & Scraper Maintenance Guide: Troubleshooting Blade Wear, Scraper Alignment, and Batch Contamination
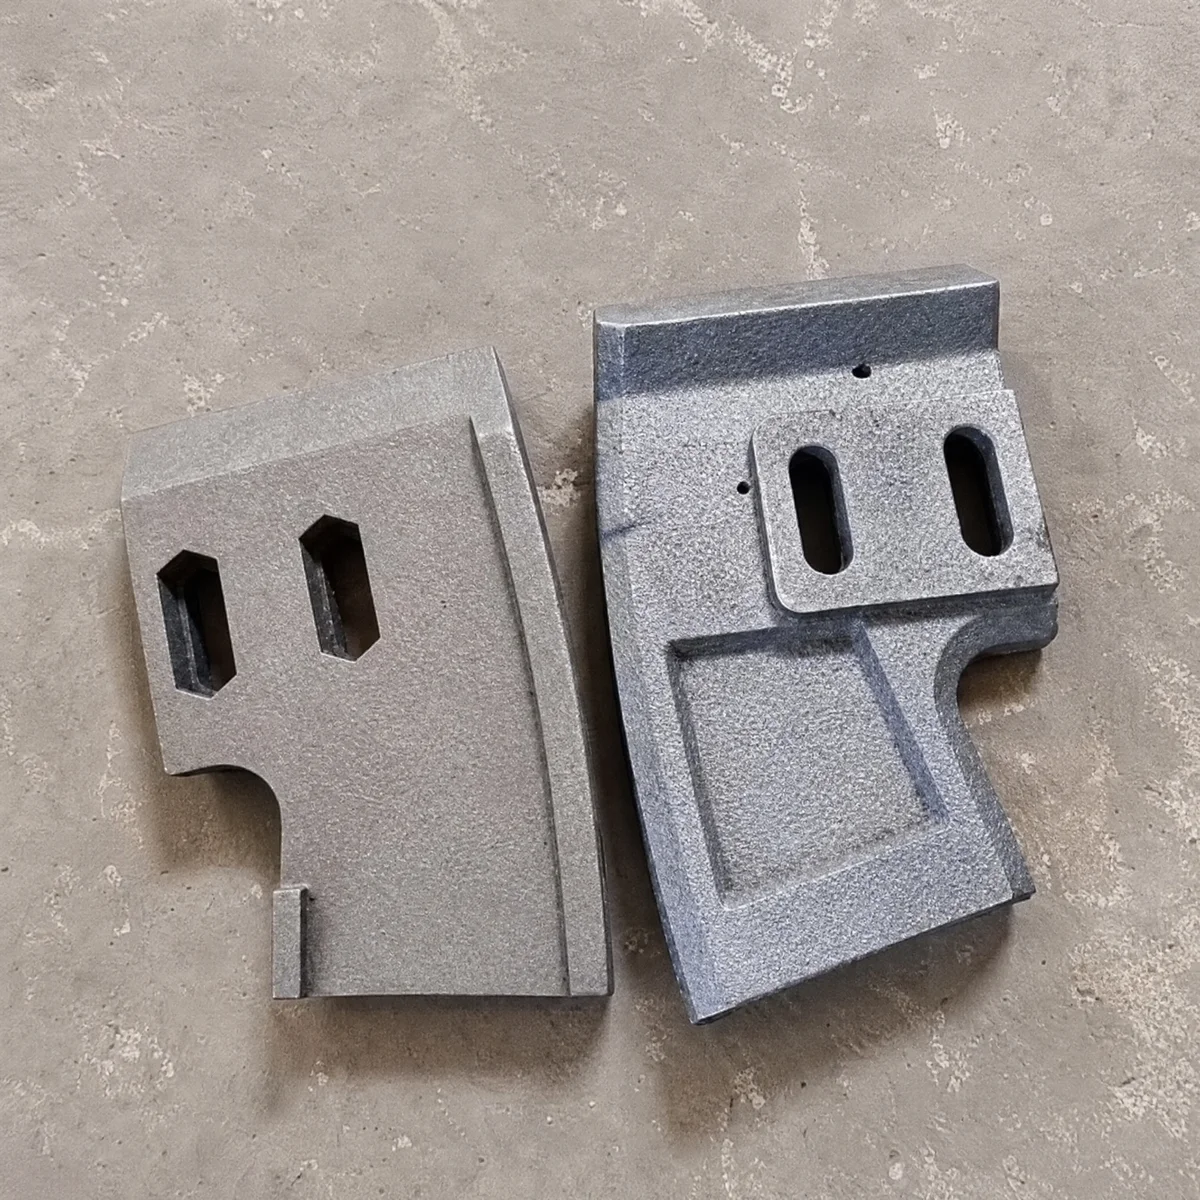
An authoritative field maintenance guide for concrete batching plant managers. Learn how to diagnose uneven blade wear, calibrate scraper angles, prevent liner gouging, and optimize replacement intervals.
In commercial ready-mix concrete batching plants and precast concrete manufacturing facilities, the performance of the mixing drum relies on the precise mechanical condition of its concrete mixer blades and scrapers. These high-wear components sweep through thousands of tons of abrasive sand, gravel, and cement slurry every month to homogenize concrete batches.
However, field audits conducted by the RAXMEK Technical Support Group reveal that over 50% of concrete batching plants operate with severely worn or improperly calibrated mixing blades. Operating with worn blade tips not only doubles batch mixing time and increases motor electricity costs, but also leads to unmixed aggregate pockets, cement segregation, and catastrophic liner gouging when misaligned scraper bolts back out.
This comprehensive field maintenance guide provides plant engineers, maintenance superintendents, and equipment operators with diagnostic failure troubleshooting matrices, scraper tuning protocols, aggregate wear matrices, step-by-step replacement procedures, and preventive maintenance inspection routines.
1. Diagnostic Troubleshooting Guide: Common Blade & Scraper Failure Modes
During weekly plant inspections, maintenance crews frequently observe abnormal wear patterns on mixing blades, side scrapers, and bottom scrapers. The diagnostic matrix below outlines root cause analyses and field-proven corrective actions:
| Observed Symptom | Physical Appearance | Root Cause Analysis | Corrective Maintenance Action |
|---|---|---|---|
| Accelerated Tip Recession | Outer blade tip worn down to a sharp, thin wedge | High sliding friction against silica sand; blade material softer than quartz aggregate | Upgrade to RAXMEK Cr26 high-chromium blades or PTA tungsten carbide hardfaced blades. |
| Leading Edge Chapping / Spalling | Deep notches or chips broken off leading blade edge | Large aggregate (over 40mm) dropping directly onto blade edge; low fracture toughness | Replace chipped blade; check weigh hopper aggregate baffle plates to buffer rock drops. |
| Scraper Edge Drag & Wall Gouging | Deep ring score marks cut into end wall liners | Scraper angle set incorrectly; lack of rubber backing gasket causing metal binding | Re-align scraper plate to 2.0mm gap against wall liner; replace worn rubber backing pads. |
| Blade Mounting Bolt Shearing | Countersunk or hex mounting bolts snapped off | Thermal expansion, severe vibration, or failure to use Grade 10.9 fasteners | Use genuine Grade 10.9 / 12.9 bolts; apply threadlocker (Loctite 243); torque to spec. |
| Slurry Scale Accumulation | Hardened concrete crust 10mm to 20mm thick on blade rear | Blade clearance exceeds 8mm; washdown procedure neglected at end of shift | Scrape scale off blade rear; adjust mixing arm slot to reset blade clearance to 4.0mm. |
2. Scraper Tuning Protocols: Left, Right, Side Bottom & Central Scrapers
A twin-shaft or planetary concrete mixer utilizes four distinct types of scrapers to keep the internal trough surfaces clean and maintain uniform slurry circulation:
1. Left & Right Side Scrapers
Mounted on the extreme end mixing arms. Must be calibrated to maintain a 2.0mm to 3.0mm gap against end wall liners to prevent cement paste from drying and packing into main shaft seal housings.
2. Side Bottom Scrapers
Specially contoured scrapers positioned at the curved transition corner between side walls and trough floor liners. Prevents stagnant aggregate buildup in drum corner radii.
3. Central Scrapers
Heavy-duty central blades that sweep the central crossover region between twin counter-rotating shafts. Ensures rapid discharge when the bottom door opens.
4. Flexible Polyurethane Scrapers
Elastomeric scrapers specified for planetary counter-current mortar and glass batch mixers. Rides directly against stainless steel liners with zero metal-to-metal scratching.
3. Aggregate Abrasiveness Index & Expected Blade Lifespan
The mineral composition of your local sand and coarse aggregate directly dictates how many cubic meters of concrete a set of high-chromium mixing blades will produce before replacement is required:
| Aggregate Type | Primary Mineral | Mohs Hardness | Abrasiveness Index (LCPC) | Expected Life (Standard Ni-Hard 4) | Expected Life (RAXMEK Cr26 Super) | Expected Life (RAXMEK PTA Hardfaced) |
|---|---|---|---|---|---|---|
| Limestone / Dolomite | CaCO3 | 3.0 – 3.5 | Low (50 to 150 g/t) | 80,000 to 110,000 m³ | 250,000 to 350,000 m³ | 450,000+ m³ |
| River Gravel & Sand | SiO2 (Quartz) | 6.5 – 7.0 | High (800 to 1500 g/t) | 40,000 to 60,000 m³ | 150,000 to 200,000 m³ | 300,000 to 380,000 m³ |
| Crushed Granite | Quartz + Feldspar | 6.0 – 7.0 | Very High (1200 to 1800 g/t) | 30,000 to 45,000 m³ | 120,000 to 160,000 m³ | 240,000 to 300,000 m³ |
| Crushed Basalt / Iron Slag | Pyroxene + Slag | 6.5 – 7.5 | Extreme (over 2000 g/t) | 20,000 to 35,000 m³ | 90,000 to 130,000 m³ | 180,000 to 240,000 m³ |
4. Step-by-Step Blade & Scraper Replacement & Calibration Protocol
When replacing worn mixing blades or scrapers, follow RAXMEK’s standard 6-step engineering maintenance protocol:
6-Step Blade Replacement & Clearance Calibration Protocol
Step 1: Safety Lockout & Isolation
Isolate main circuit breakers for mixer drive motors. Apply safety locks and warning tags. Lock the discharge door in the open position using mechanical safety props before entering the mixing drum.
Step 2: Demolition & Arm Pad Cleaning
Unbolt and remove worn blade castings. Use a needle scaler or pneumatic wire brush to clean hardened concrete scale from the mixing arm mounting pads. Inspect arm pads for flatness.
Step 3: Fastener Assembly & Threadlocking
Always use high-tensile Grade 10.9 or Grade 12.9 countersunk oval-head bolts equipped with polyurethane backing washers and Nyloc nuts. Apply medium-strength threadlocking compound (Loctite 243) to bolt threads.
Step 4: Blade Clearance Calibration
Place feeler gauges between the new blade tip and the drum liner. Adjust the mixing arm mounting slot to achieve a uniform 3.5mm to 4.5mm clearance. Torque mounting bolts to specification:
- M16 Bolts: Torque to 210 to 230 N·m.
- M20 Bolts: Torque to 410 to 450 N·m.
5. Preventive Maintenance Inspection Checklists for Plant Operators
Implement this structured inspection routine to maximize concrete mixer blade performance and prevent unscheduled plant shutdowns:
Daily Shift Checklist (End of Shift)
- High-Pressure Trough Washdown: Hydro-blast interior mixing drum immediately after final batch to prevent concrete scale hardening on blade rear faces.
- Visual Scraper Check: Inspect side scrapers for cement paste build-up or loose mounting hardware.
Weekly Maintenance Checklist (Every 5,000 m³)
- Blade Tip Clearance Gauging: Measure clearance between blade tips and trough liners at 4 points per shaft. Adjust arm slots if clearance exceeds 6.0mm.
- Mounting Bolt Tightness Check: Tap countersunk bolt heads with a copper hammer to detect loose fasteners.
Monthly Maintenance Checklist (Every 25,000 m³)
- Ultrasonic Thickness Gauging: Measure remaining wall thickness along leading blade edges. Order replacement blades when thickness reaches 25% of original casting thickness.
- End Scraper Alignment Test: Verify that left and right side scrapers maintain a uniform 2.0mm clearance against end wall liners.
6. Elevate Batching Performance with RAXMEK Wear Parts
At RAXMEK, we engineer high-performance wear components that keep global concrete batching operations running at peak efficiency. Our comprehensive product line includes high-chromium mixer liners, cast mixing arms, wear-resistant blades, side scrapers, concrete cutting discs, and diamond saw blades.
- OEM Interchangeability: 100% exact dimension match for BHS, SICOMA, Liebherr, Teka, SIMI, ELKON, MEKA, and Linz twin-shaft and planetary mixers.
- Superior Metallurgy: Cr26 super high-chromium cast iron and PTA tungsten carbide hardfacing options with zero internal porosity guarantees.
- Global Field Support: Experienced application engineers available to perform wear audits and recommend custom alloy formulations for your aggregate profile.
Request Technical Engineering Assistance
Ready to eliminate premature blade wear and lower your concrete batching costs? Contact RAXMEK technical sales today for expert guidance, CAD engineering drawings, or a fast B2B quotation.
- Email: info@raxmek.com / sales@votne.com
- Technical Consultation: Submit your mixer model and aggregate specifications via our Online Contact Form to consult with a wear parts specialist.
Tag
Risorse Correlate
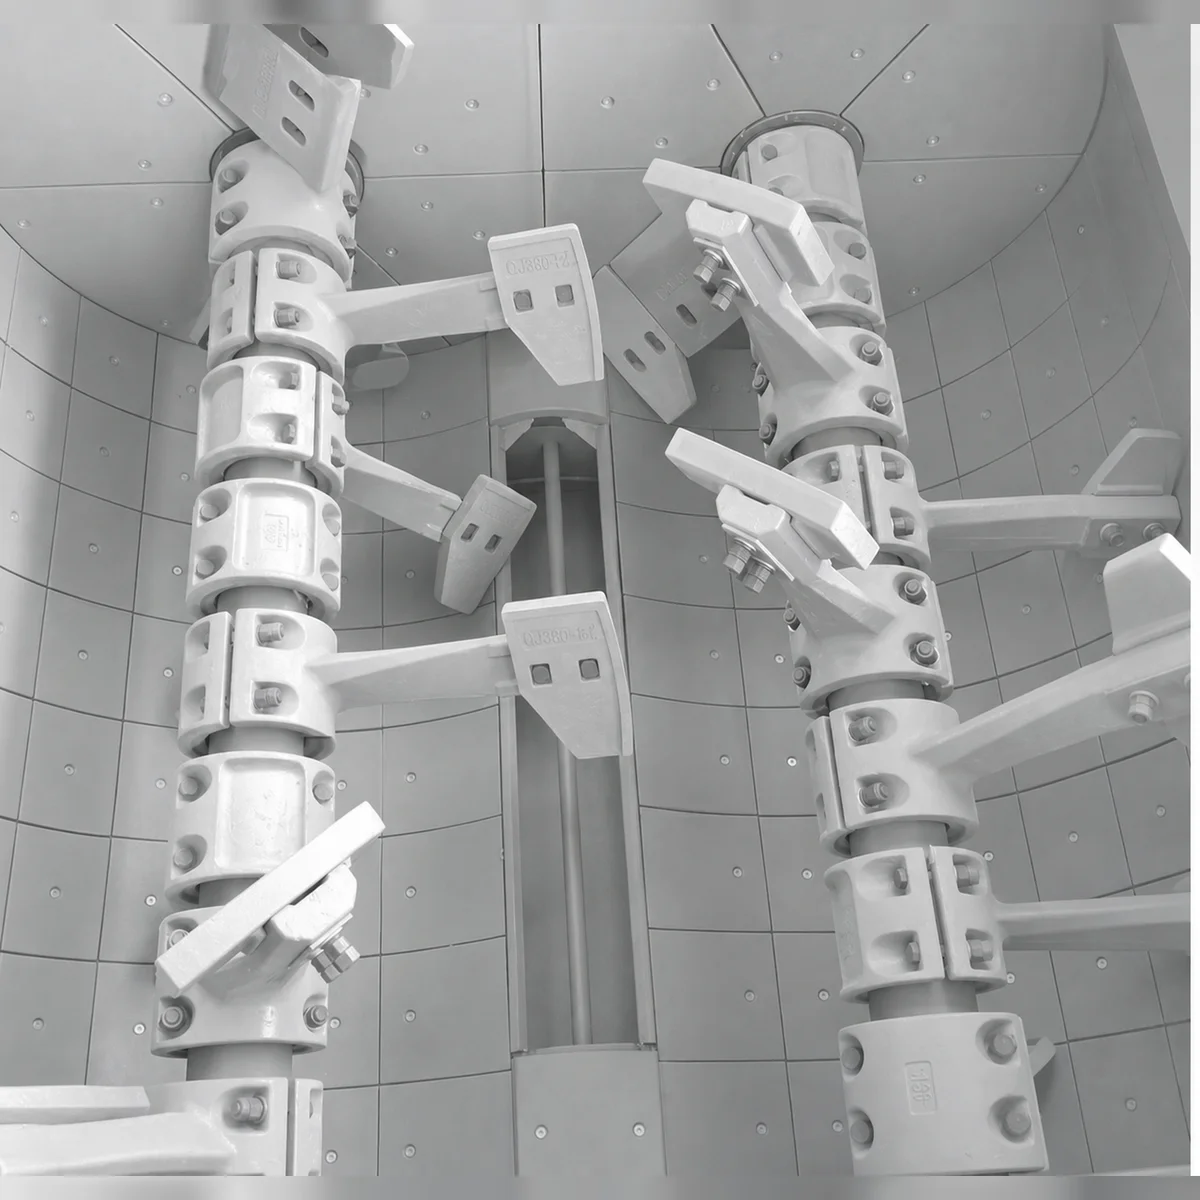
Concrete Mixer Liner Maintenance & Replacement Guide: Troubleshooting Wear Patterns, Bolt Torque Specs, and Downtime Reduction
Uneven liner wear and loose countersunk bolts are the leading causes of mixer drum gouging and unscheduled downtime in batching plants. This guide covers step-by-step maintenance protocols, clearance tuning, and failure prevention.
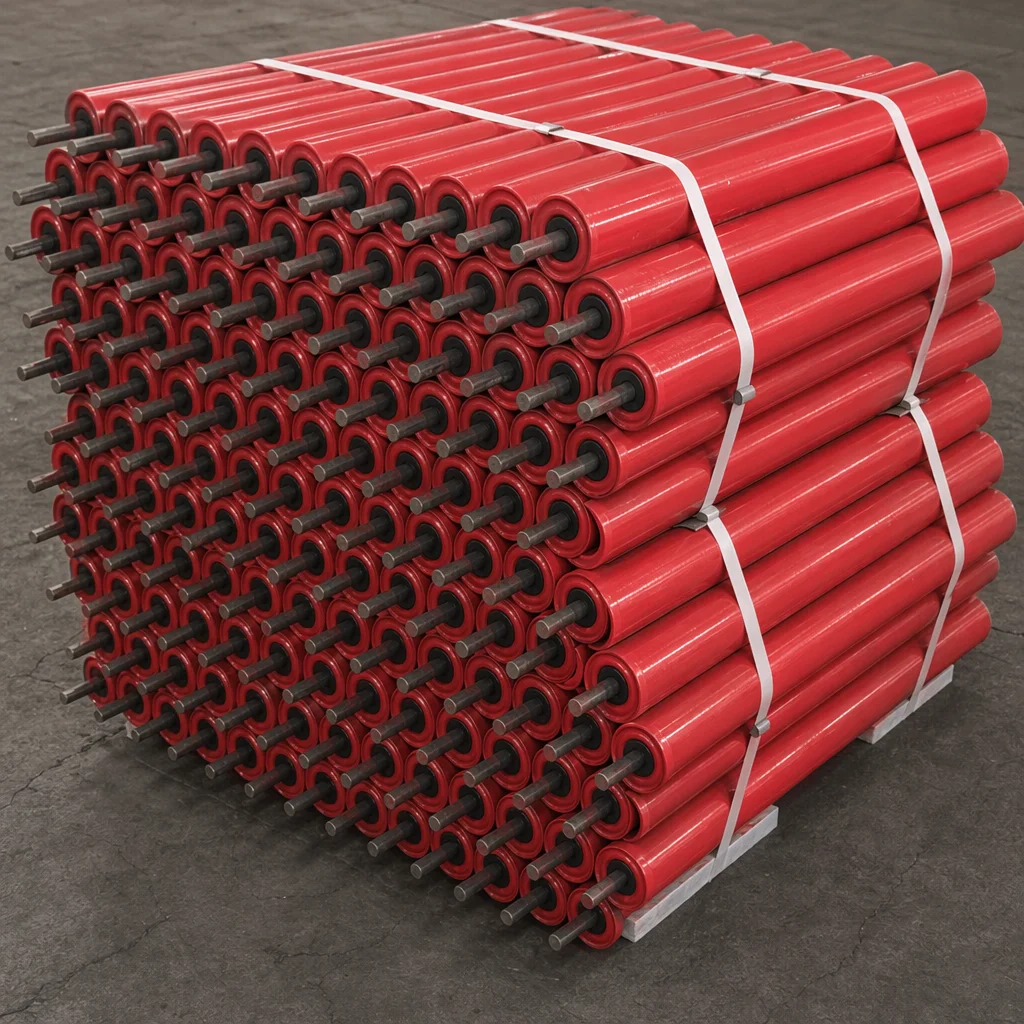
How to Select and Optimize Conveyor Rollers for Heavy-Duty Industrial Applications
Conveyor rollers are the unsung heroes of bulk material handling. Specifying the correct tube thickness, bearing clearance, and sealing system can reduce operational downtime by up to 40%.
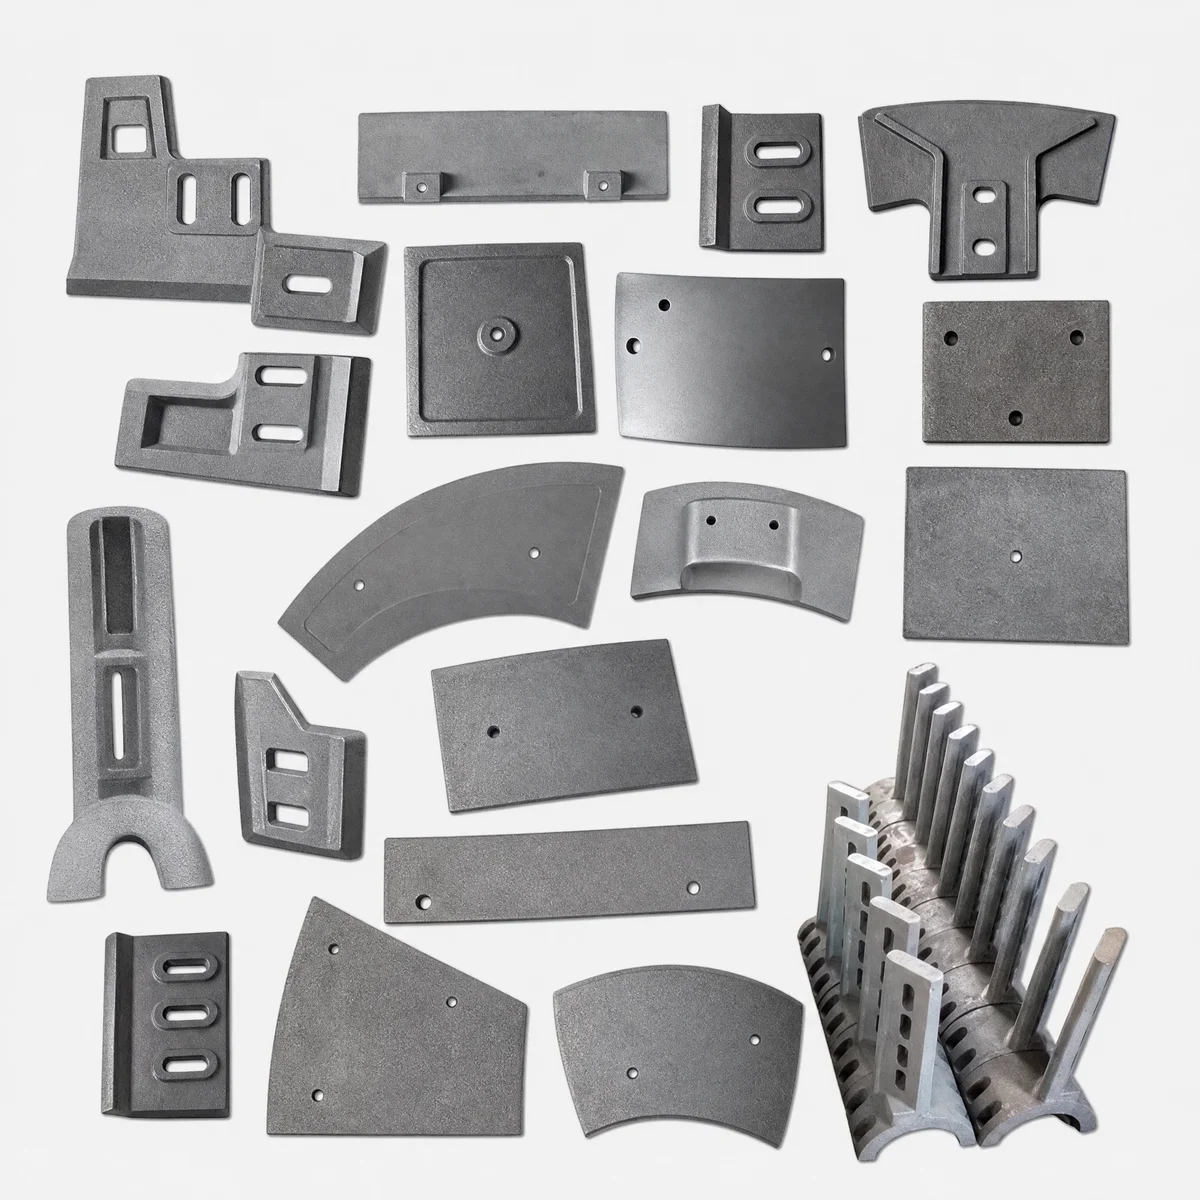
Concrete Mixer Arm Maintenance & Troubleshooting Guide: Preventing Keyway Shearing, Arm Fracture, and Blade Alignment Failures
Loose hub clamp bolts and misaligned mixing arms are the leading causes of mixer shaft keyway shearing and severe liner gouging. Follow this field maintenance guide to calibrate arm pitch and eliminate emergency downtime.